Type 2 (T2) Oil change
First things first, if your new to all this playing with engines melarkie have a look at my general hints and tips before beginning.
What you will need:
-
- 10mm, 21mm sockets
- Tub for oil
- Rags
- Flat head screwdriver, knife or similar
- Needle nose pliers
- Oil
An oil change is the best place to start if you are doing a full service of your beetle or van engine, it means that you can start the oil draining and get on with another part of the service while you are waiting.
It also a good place to start because it’s a nice straight forward job with good access, so if you are standing by your engine shitting yourself at the thought of tinkering with it then this will ease you in nicely to the ways of the grease monkey.
Torque details
Oil drain plug
25 foot-pounds or 3.5 mkg
Oil strainer nuts
5 foot-pounds or 0.7 mkg
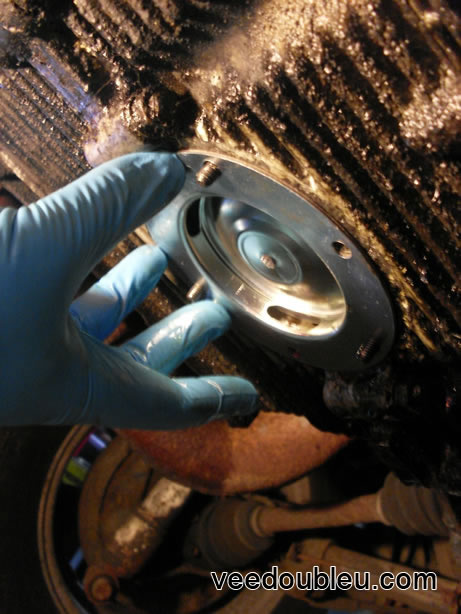
Step 1 – Getting ready
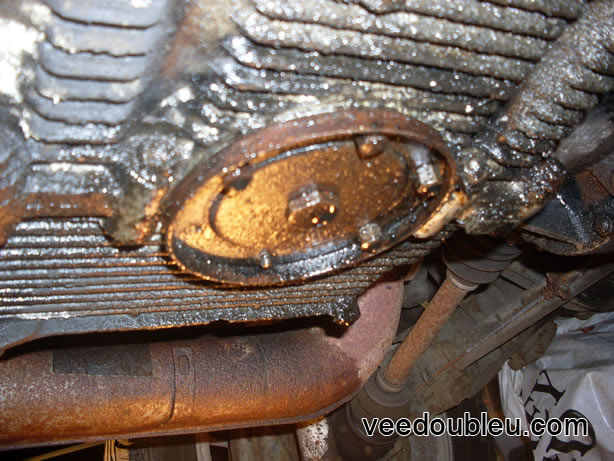
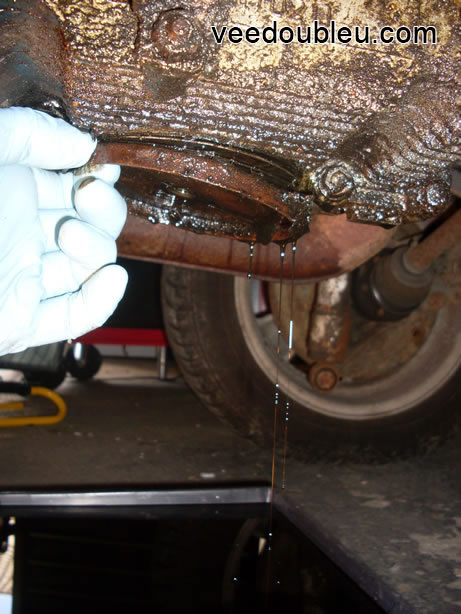
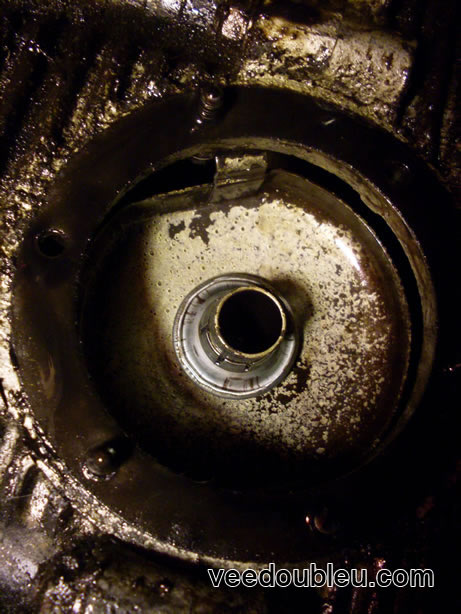
Have a crawl under your engine and locate the bad boy pictured above. This is the the oil sump plate and it’s going to be your playground for the next wee while.
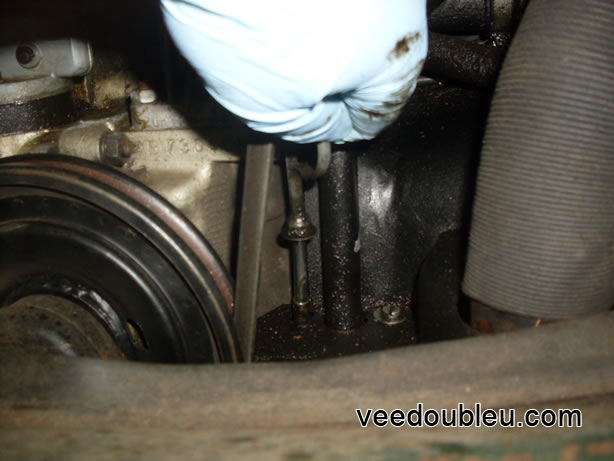
Before getting to work take out the dipstick, this makes it easier for the oil to drain.
Next take your tub and place it under the drain plug, you might want to put down newspaper to to catch any spills. As you can see from the pictures later on I couldn’t be bothered 🙂
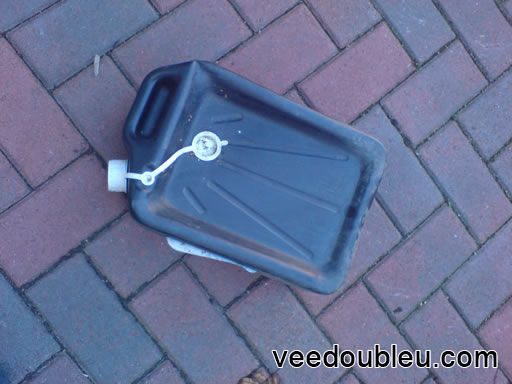
NOTE: I recommend getting one of these Oil Drainer Cans, saves so much faffing about.
The engine should be warm before draining as warm oil flows more easily, I carried out this oil change with the engine cold. I didn’t want to go out in the rain or gas myself by running the engine inside 🙂
Step 2 – Go for it
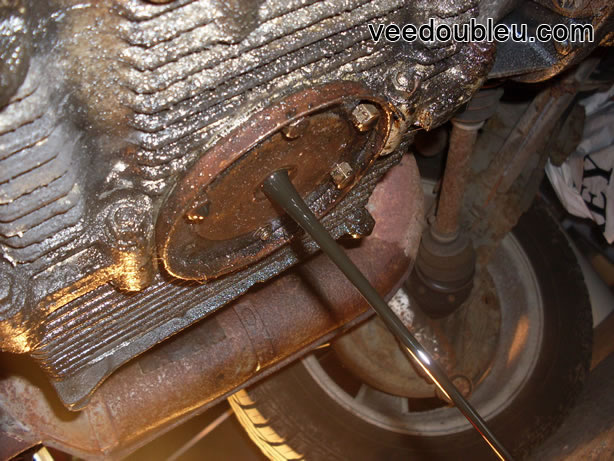
Loosen the central drain plug using a 21mm socket for 2-3 turns, a few more turns by hand and the oil will drain out like a horse taking a piss so be ready for it.
Now all that you can do is is wait for the flow of oil to stop or to slow down to a drip.
Step 3 – Removing the sump plate
With the majority of the oil drained you can now remove the plate. If you replace the main bolt by giving it a few turns by hand this will stop any drips going up your arm allowing you to take off the outer bolts in peace.
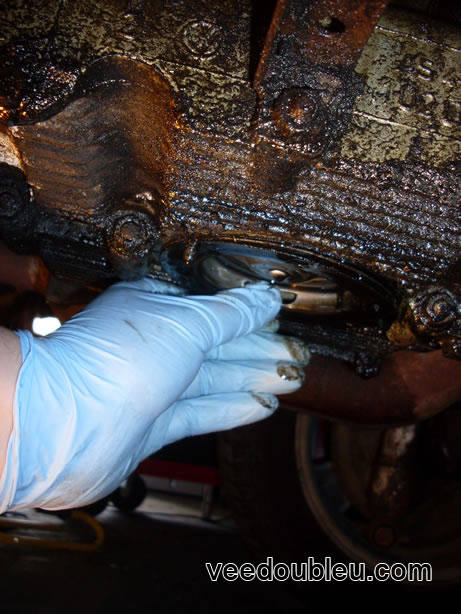
To loosen the 6 smaller bolts holding the sump plate in place turn them anti clockwise using your 10mm socket. This will release the sump plate, the old gaskets and the oil strainer.
NOTE: PLEASE PLEASE PLEASE be really gentle with when removing these nuts. I managed to twist one of the studs off in the past and it is easy to to strip the threads if over tightened. You can read what to do if it happens later in this guide.
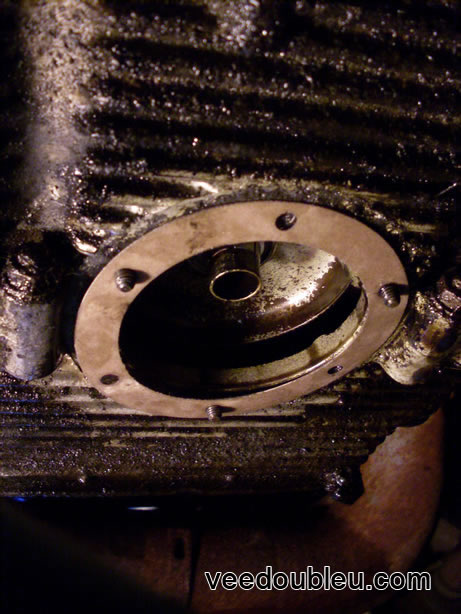
Step 4 – Removing the oil strainer
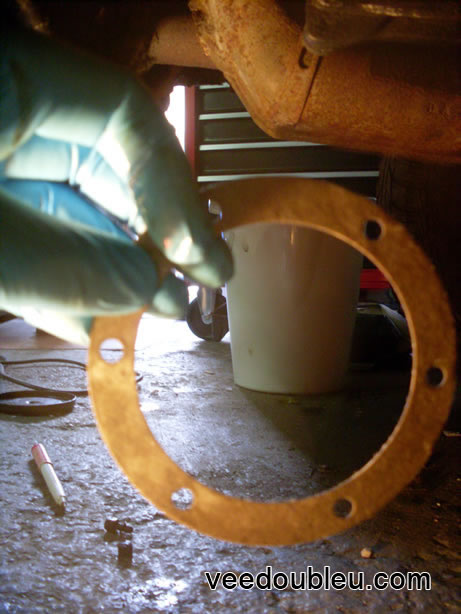
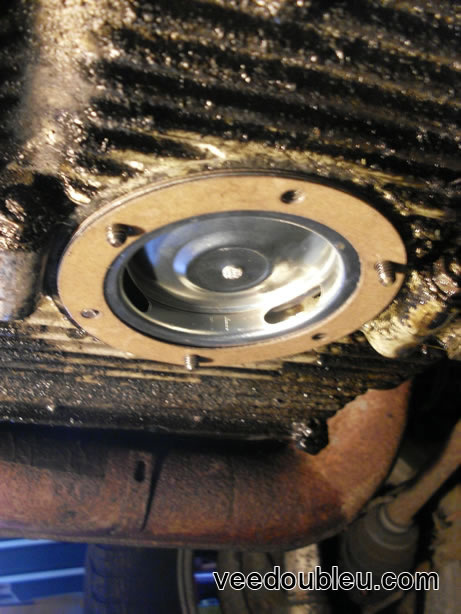
If like me you it has been a while since your last oil change you may need to pop the sump plate off with a screwdriver, mine was stuck in place by the perished gasket.
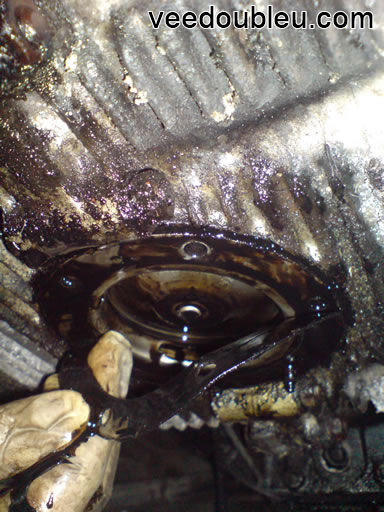
This second gasket might need to be scraped off. You will be left with something looking similar to this, all yucky and dirty.
If you don’t clean the surfaces the gaskets touches the seal won’t be as good as it can be and it will end up leaking. I used a flat head screwdriver to scrape off the last bits of the gasket then WD-40 and a rag to remove the remaining gunk.
Step 5 – Replacing the oil strainer
Now that the old gasket and gunk is removed we need to put our lovely new strainer in. As you can see from the diagram below my art degree hasn’t gone to waste.
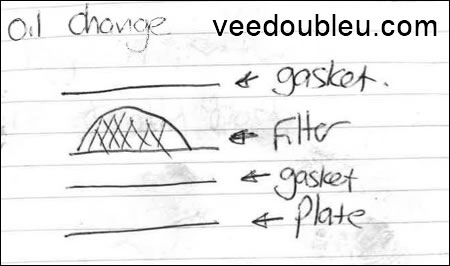
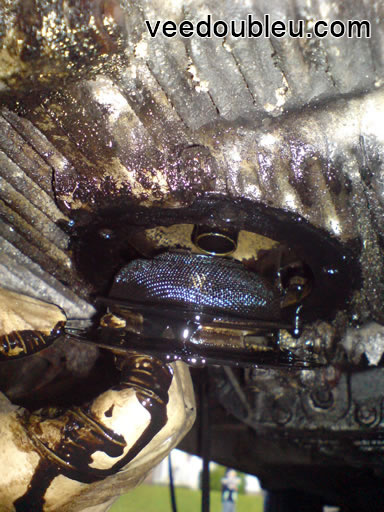
You can see the same thing in the image below just in case my drawing skills aren’t what I believe them to be 🙂
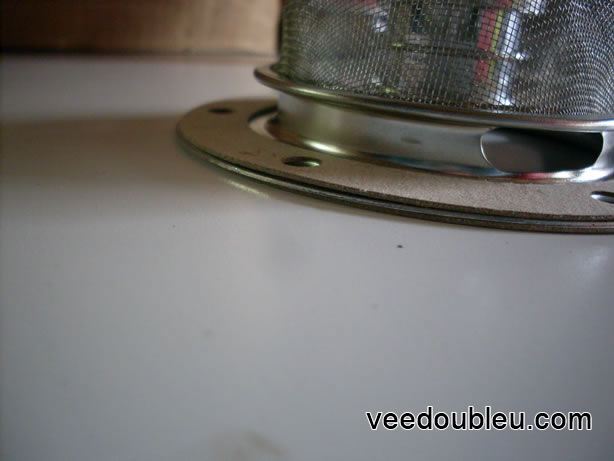
And for those of you with eyesight like my mother we have one final close up for good measure….

You can clean and reuse the metal filter but for the sake of a few pounds I tend to replace it. Just Kampers sell this kit that contains the filter, gaskets and copper washers, they also sell the strainer.
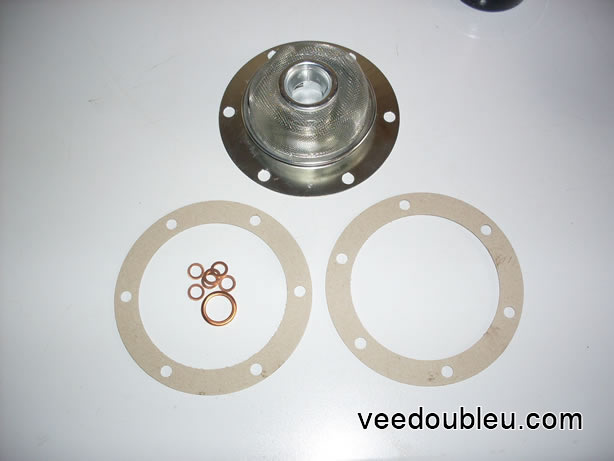
Where the surfaces touch give them a little coat of your lovely new oil, it helps the seal.
With you paper gasket nice and oily you can put the first gasket in place.
Followed by the oil strainer
And the second gasket. See, I told you this was easy.
Put the plate in place and hand tighten all the nuts / bolts to hold it in place.
Tighten it the 6 smaller nuts using your 10mm socket. Don’t forget to tighten the drain plug as well.
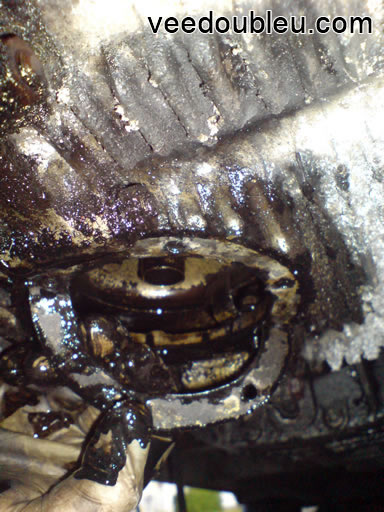
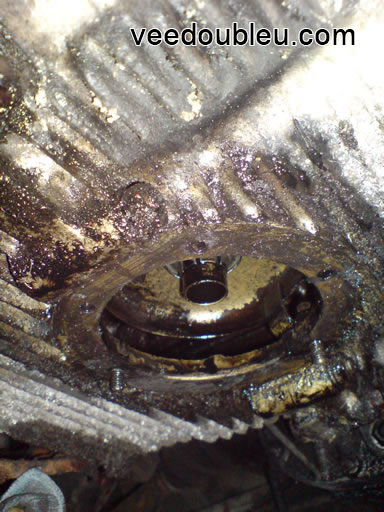
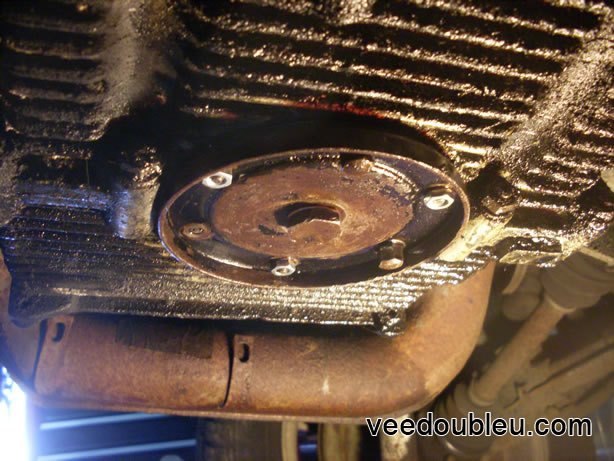
I don’t have the correct torque settings for these so you’ll just have to be careful here. As you can see from these two pictures below I managed to get my self in a little trouble
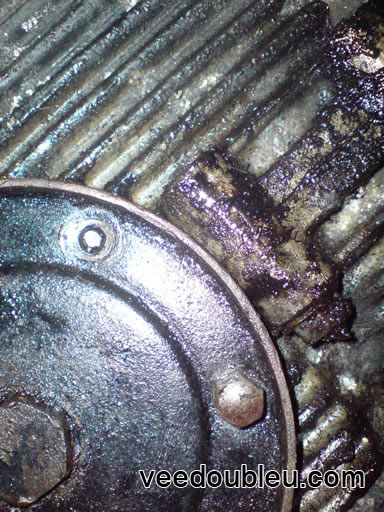
REMEMBER: The correct torque settings are at the top of this guide. Please check them 🙂
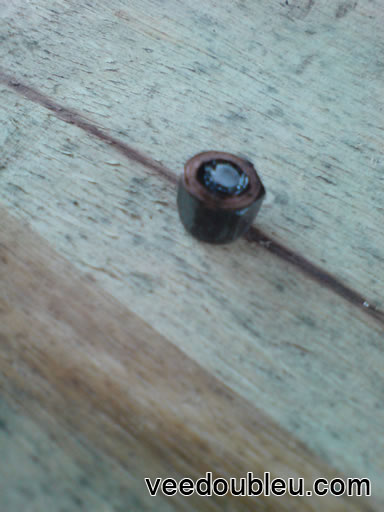
OOPS: As you can see the last oil change I did I managed to snap off one of the bolts, so again. Be careful.
Step 6 – You are done
Assuming you haven’t sheared off a stud all that is left to do is replace your dip stick and fill the engine with oil and you are done. YAY 🙂
If like me you have been bad and managed to break something have a look at the trouble shooting section below.
Troubleshooting
So you don’t know your own strength and you sheared off one of the bolts. After your cold sweats have stopped there are a few things you can do.
Option 1
Do nothing, the other five should tighten enough to keep the oil in the sump. This is what I have done for now.
Option 2
You can remove the snapped bolt. If there is enough of it sticking out you should be able to get a grip on it and extract it. If this works you are lucky.
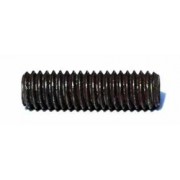
You can order one of these Replacement Studs (For Drainer Plate) from Just Kampers and you are sorted.
Option 3
If there is nothing of the stud sticking it’s going to have to be drilled out which will probably end up destroying the thread in the sump. The most cost effective way of sorting this is to use a tap and die set and order an over sized stud.

Heli-coils are also an option but from what I’ve read they are pretty expensive.
Well. That’s it. If you have any comments or questions let me know.