Fitting a devon roof cap
 Nic’s bus MAX had a terrible leaking pop top which over the years had been repaired with mastic, filler, fiberglass, bitumen and loads of paint and it still leaked Grrrrrrrrrr. So Nic decided the only option was to replace the roof cap with one of JK’s moulded fiberglass one’s. So one duly arrived and I was impressed nice bit of moulding and after a quick trial fit it was even the right size hehehehhe. The first thing we did was to roughen the underside of the moulding around the edges where it fits onto the existing roof and as we were departing from the supplied instructions and actually removing the inner ali panel on the original roof, as we felt the roof would “sit” better we glassed some wooden bearers in to fit a new headlining too.
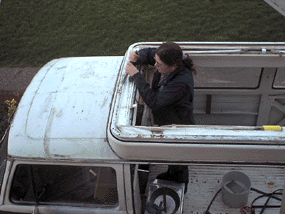
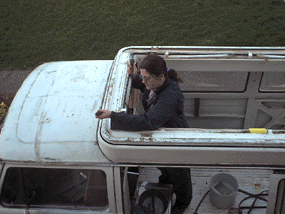
Next we removed the old inner ali panel by cutting through the rubber seal after removing layers of fiberglass and filler with chisels, we also removed the ali mouldings holding the tops of the skirts for the roof. That left us with an outer ali framework to which the lifting mechanism is attached with grotty mild steel bolts all nice and rusty, so the angle grinder put in an appearance and removed the eight bolts. we then cleaned the ali framework with the sander back to nice shiney bare metal. We then chocked the roof up about 4 inches from inside the van, then we cut some 25 x25 mm soft wood to length so it fitted all round the inside of the outer edge of the ali frame and the same again so we could use them as packing pieces to clamp the new fiberglass cap on.
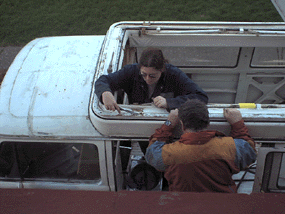
 Then the supplied panel adhesive was applied liberally all round the ali frame and the new roof cap was carefully lifted into place, we then went round and clamped the cap into place using every “G” clamp that we could find, at this point we retired indoors had a beer, well Nic did I got a cup of tea and left the sticky stuff to cure over night. The next we removed all the clamps and being a distrustful type I tried to lever the new cap up believe me that cap aint shifting no where . Next we drilled 8 new holes through the cap and bolted the lifting mechanism back on with nice stainless steel bolts and that’s it all sorted.

Original location:
http://www.colinwebb.pwp.blueyonder.co.uk/roof.htm
This web page was posted at the link above but the website is no longer online and I was unable to track the owner down. I felt this web page was too good to disappear.
Learn more about my Revival project, any questions let me know.