Ka Oil change
Changing the oil is one of the easiest things you can do to improve the life of your Ka’s engine, its only takes about half an hour and a handfull of tools. This guide was written specifically for the Ford Ka but it can be used as a general guide for changing the oil on any car.
The most important thing about changing the oil (and filter) yourself is that you know the job has been done properly using a good quality filter and oil instead of being rushed by some cap wearing pimply faced 16 year old apprentice mechanic.
Step 1 – Where to start
Well safety first, you should be wearing some sort of eye protection and you should NEVER get under a car supported only by a jack. I only had to jack the car up at one side to change the oil but it was well supported with the jack and an axle stand.
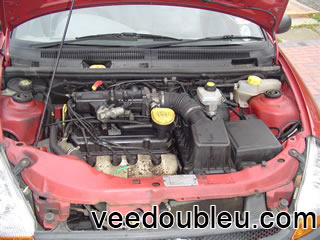
Well here is is the lovely little 1.3 Ka engine, solid little thing that will run for ever if well looked after.
Step 2 – Getting ready
Below is a list of what you need, it looks like a pretty big list but most of the items on it can be found about the house. All you really need to buy, assuming you have the tools, is the oil filter and oil.
-
- New oil
- New oil filter
- Oil filter removal tool – I used oil filter pliers
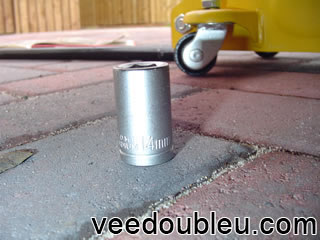
- 14mm socket
- Torque wrench – Not really needed so don’t worry if you don’t have one
- Rags
- Container to catch the oil – I used a painting tray
- Old bottles and a funnel – To dispose of the old oil
- Wheel blocks – I used bricks
- A jack, pair of jack stands or car ramps.
Step 3 – Getting Started
Oil runs more freely when it’s warm, start your car and leave it idling for a few minutes to warm the oil and loosen all the engine gunk up. Then get your car up on the ramps or jack it up remembering to place the wheel blocks behind the rear wheels.
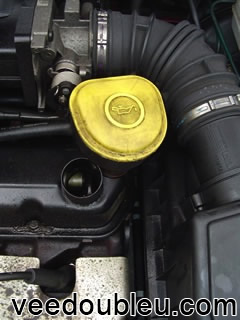
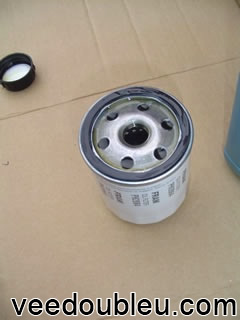
Remove the oil cap shown above, this will let the oil empty out of the sump more freely. Now you’re read to get under the car and get messy.
Step 4 – Under the car
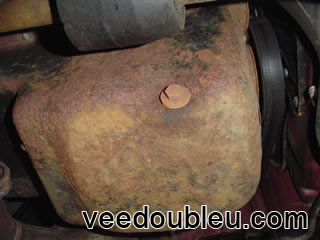
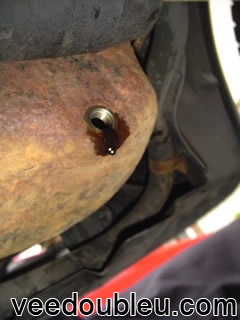
You’re looking for this bad boy here. This is the oil sump where the oil lives. If you see any oil leaking from round the sump plug the chances are you will have to replace the plastic washer. I got a new sump plug and washer from Ford for £1.98.
Note: I had to replace the drain plug last oil change, the head had rusted away. I had to file the head of the bolt down and use a 10mm socket to remove it. If you have an older car it might be a good idea to think about replacing the sump plug while your down there.
This is a good time to lay down the newspaper to catch any spillages. You will need a 14mm socket to turn the drain plug about a 1/4 turn just to slacken it off.
Step 5 – Draining the Oil – The Fun / Messy Bit
Now the tricky bit here is not getting covered in oil. Place your container under the sump and remove the slackened sump plug. The flow of oil wont stay constant, see the pics below, so you will need to reposition the container every now and then.
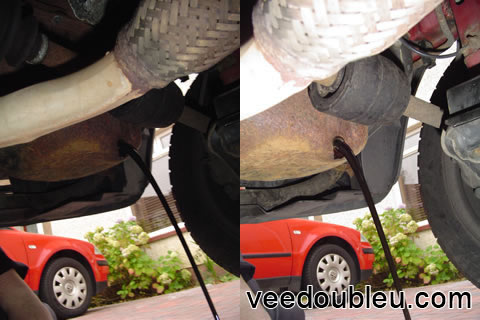
The longer you leave the oil to drain the better, i tend to leave it dripping away for 20-30 minutes to get as much of the cruddy old oil outs as possible.
While the oil is draining you should check the drain plug, below, and washer for damage and replace it if necessary.
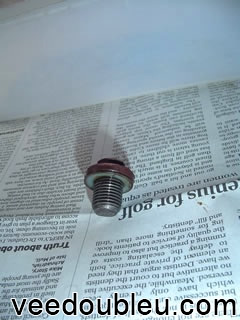
Step 6 -Replacing the drain plug
If you have a torque wrench now is the time to get it out and set it to 25NM or 18 lbf ft in old money.
If you don’t have one don’t worry, the lowest setting on mine is 30NM so i just guessed.
Step 7 – Removing the Oil Filter
I can’t begin to tell you how much fun I had changing the oil filter.
I had changed the oil once before on this Ka and I spent an hour trying to loosen the oil filter before I gave up, I wasn’t going to let it beat me this time.
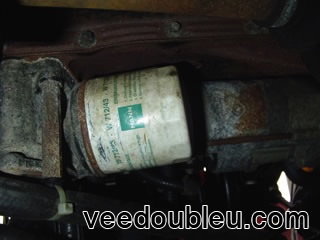
The Oil filter should simply screw off using the filter pliers (or whatever oil filter removal tool you have). Unlucky for me this wasn’t the case.
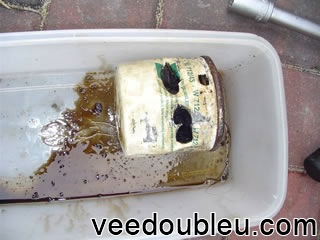
The oil filter contains about 1 pint of oil so get ready with your tray to catch it. If your oil filter is stuck you should read Step 8 if not skip to Step 9.
Step 8 – Stuck oil filter, prepare to get messy…
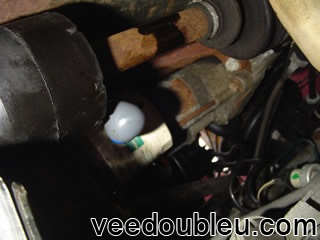
As far as we can tell this oil filter has been in place for 5 years and its stuck fast. One way to remove the stuck filter is to get a sturdy screw driver and hammer it through the filter as shown in the photograph below.
You should hammer the screwdriver in at least one and a half inches from the base of the filter to avoid the threaded cylinder it screws on to, it can be seen in the pics of Step 9.
Warning: When you hammer through the filter you have to prepare to get covered in oil, I had it in my hair, all up my sleeve and I think my overalls a t shirt soaked up most of it. You should also put some extra news paper down.
I had to hammer the screwdriver in few times as the filter is pretty flimsy and when you start to push the screw driver it rips into the filter, you can see that in the photograph below. I had to hammer through a few times.
So the filter is off and your left with the image below. All you need to do is let the oil drain for a bit and…
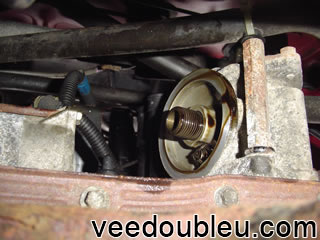
..wipe off any excess. Now you’re ready to fit the shiny new filter.
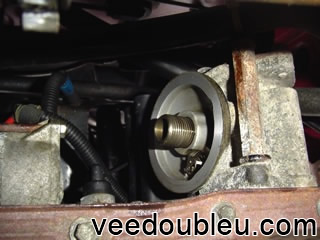
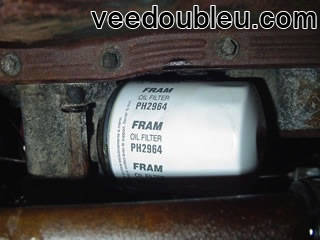
Take your new filter and give the top and the seal a thin coating of the new oil.
All that remains to do while your under the car is to screw on the new filter. Don’t use any tools, hand tighten only.
Step 10 – Replace the Oil
All that’s left to do is get the car off the ramps or axle stands. I know this next statement is common sense but I don’t want anyone coming round to smack me in the head because they ruined their engine.
Don’t start the car until you have replaced the oil, if your car is on ramps push it off.
With the car on even ground you can replace the oil a little at a time. when the dipstick is reading as full run the engine for a few minute then top up again if required.
And that’s you done.
If you use this guide or have any questions or comments please contact me and let me know.