If you have a set of locks that have more keys than a piano then this will hopefully help you reduce the number to 1 or 2.
This high top van arrived from America with only an ignition key and that was for an aftermarket ignition switch so nowhere near the right one for the door locks.
At this point there are three options.
-
- You can have keys made to match the barrel number by companies such as Custom & Commercial at their Lock Shop.
- You can go to a dealer and buy a tumbler kit.
- You can remove the barrels and follow this guide.
NOTE: This method will reduce the strength of your locks but costs nothing and is quick to do.
First thing you need to do is get a key that will fit into the barrels. There are several different key profiles and if you don’t get the right one for the lock it simply won’t go in.
I was lucky to find a cab handle with a key in my collection of bits and this is what all the locks will be matched to.
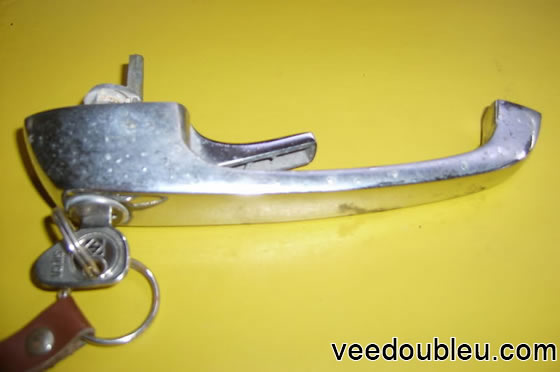
I will be starting with the sliding door handle.
First thing to do is remove the sliding door handle.
With the door open (you won’t get the door open without the handle so don’t lock the handle in the van) unscrew the inner handle.
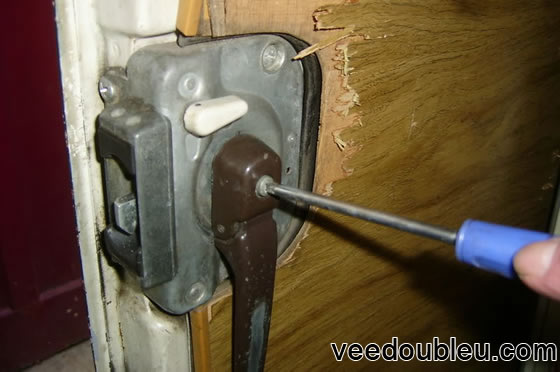
The outer handle will then slide out with the lock collar.
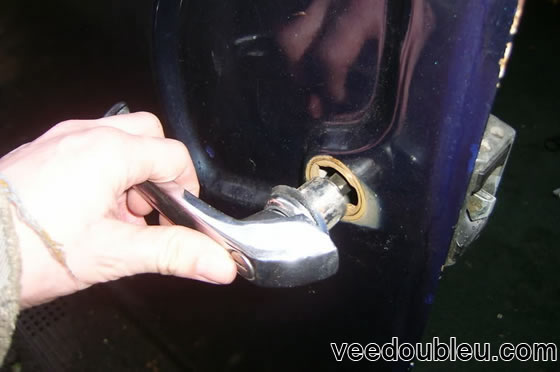
Due to the small parts, take the handle to a clean surface so as not to lose anything.
Slide off the lock collar and clean off the grime to reveal a small grub screw. It took me a while to find this screw so clean the handle carefully and then remove with a jeweler’s screwdriver.
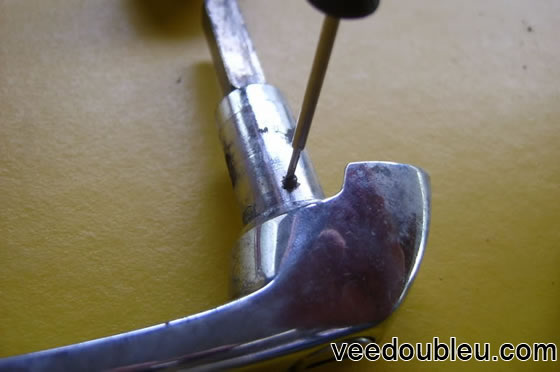
With the screw out you can use the end of the screwdriver to pry out the lock barrel. This is the lock barrel, handle and collar.
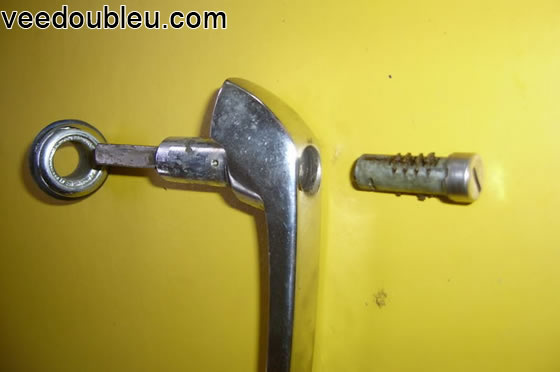
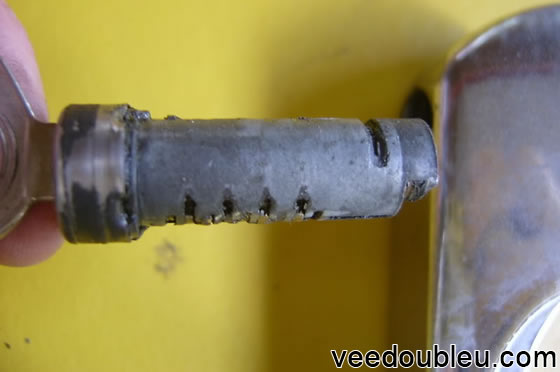
With the barrel out you can see the brass tabs which lock the barrel with the key removed.
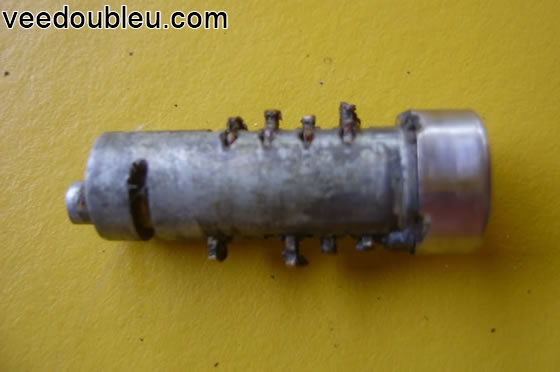
With the wrong key fitted you can now see that the tabs do not withdraw fully meaning the lock won’t turn.
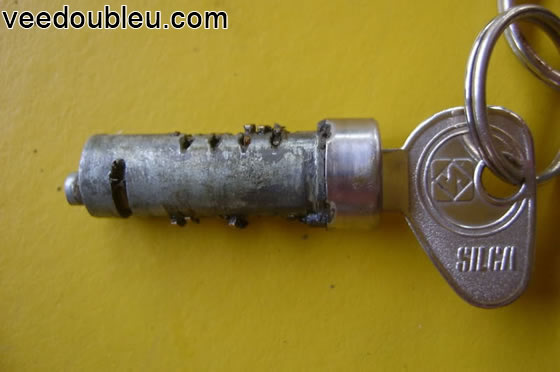
The answer, file off the parts of the tabs which are still sticking out WITH the key in place.
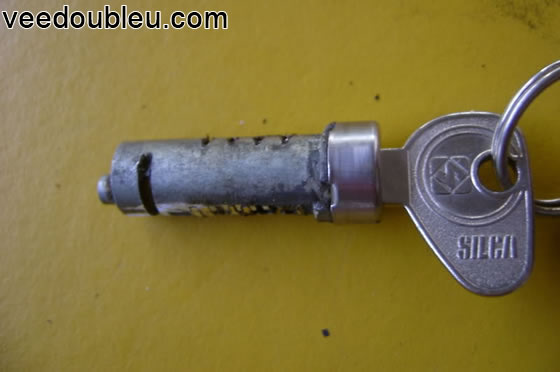
With the key removed from the now modified barrel you will see that there are not as many tabs sticking out so the lock won’t be quite as strong as before but to be honest, if somebody wants to steal your van a few bits of brass won’t stop them.
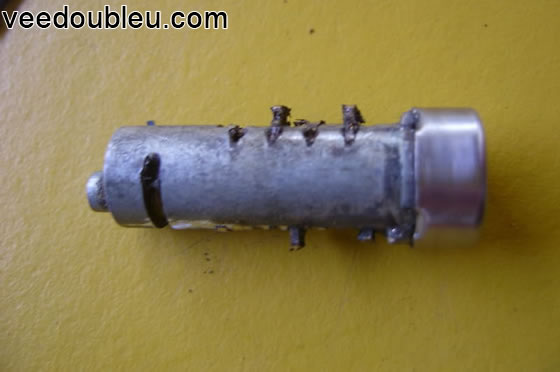
When I re-assembled the lock it was working perfectly so now I will move onto the rest of the locks.
Cab door locks
First the cab doors. Stage 1 in the process is to get to the lock securing bolts.
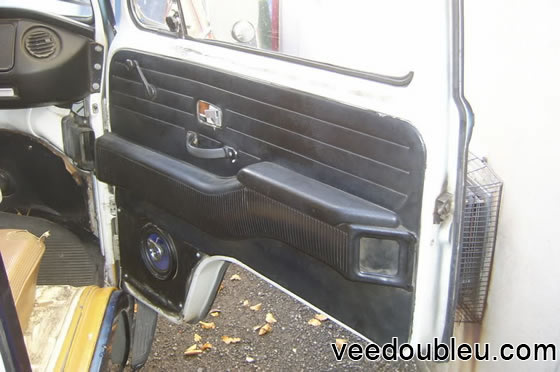
You need to remove the door panel which is done by unscrewing the window winder handle (make sure the window is fully up), the grab handle and the lock surround. The panel then pops off with the clips.
With the panel off you can see the bolts holding on the lock (the big arrows I have added should help).
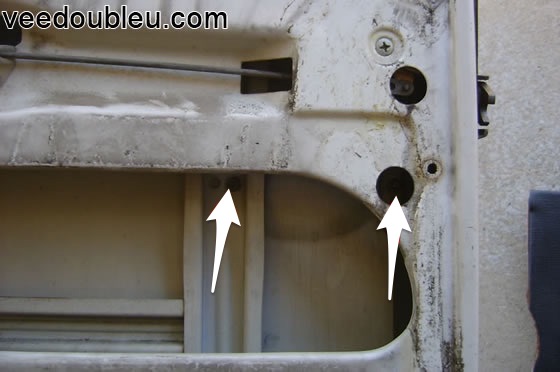
Use an allen key to remove the bolts and the lock will lift off. Don’t loose the grommets.
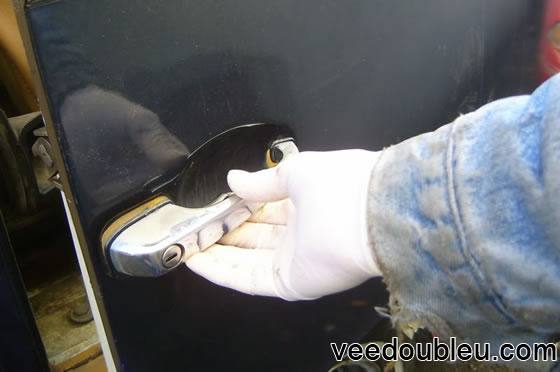
To get to the barrel, remove this screw.
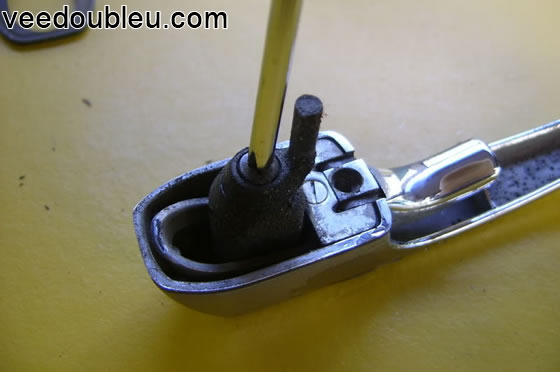
And then lift off the cam but be careful, there is a small coil spring under this than can ping.
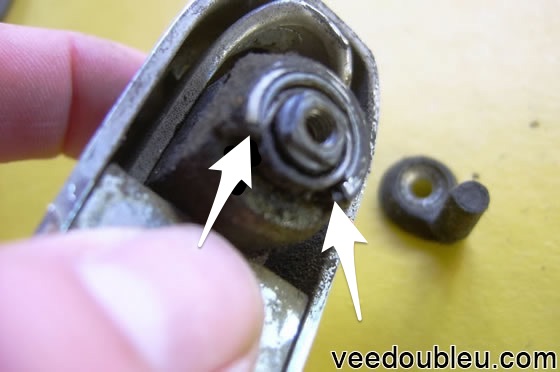
Take note of how this locates and make sure you get it back on the right way.
This is the exploded picture of the components.
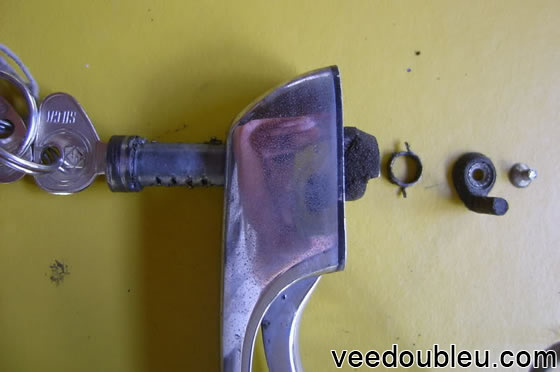
It’s a good Idea to have the key in place before removing the lock barrel so that the tumblers cannot fall out.
From this point the process is pretty much the same as the sliding door lock. This is how the tumblers look before grinding:
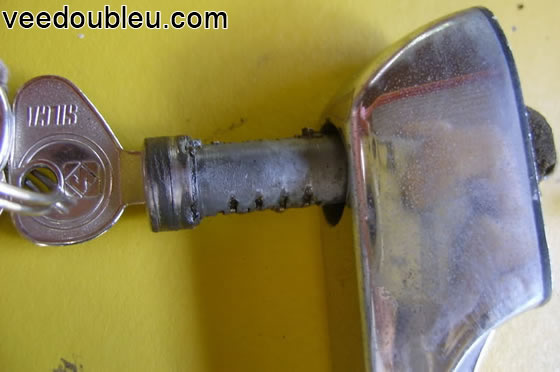
And after:
Re-building the lock is just the reverse of taking it apart but again, make sure the spring is in the right place and check that everything works before putting the door panel back on.
Onto the tail gate lock.
Tailgate lock
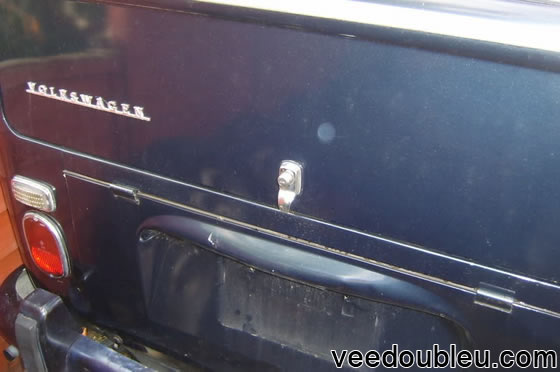
The big problem here was that the tailgate was locked and unlike the other doors it can’t be unlocked from inside.
To open it you need to remove the inner door card.
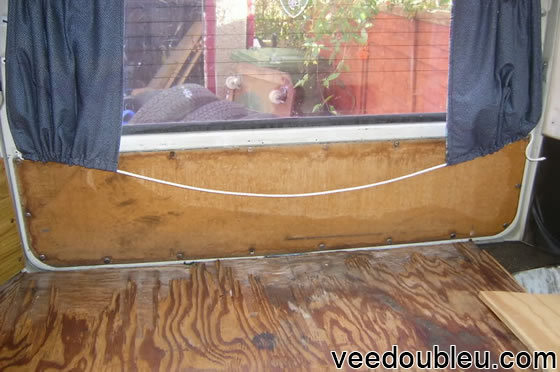
This gives you access to the lock. Pulling on the lock mechanism will open the tailgate.
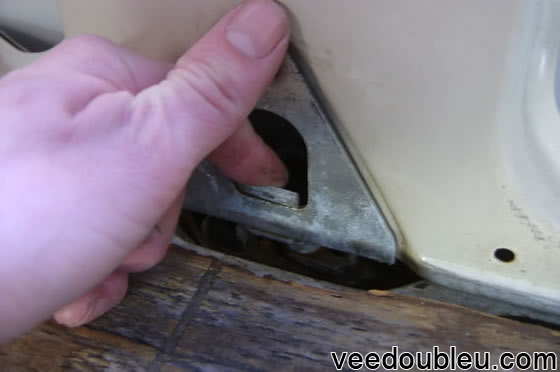
With the tailgate open you can now dismantle the mechanism but be warned, you will have to work above your head so be careful not to drop anything as it will be a pain to find.
I started by removing the cam from the end of the lock barrel. This could probably have waited until the lock was off but you live and learn.
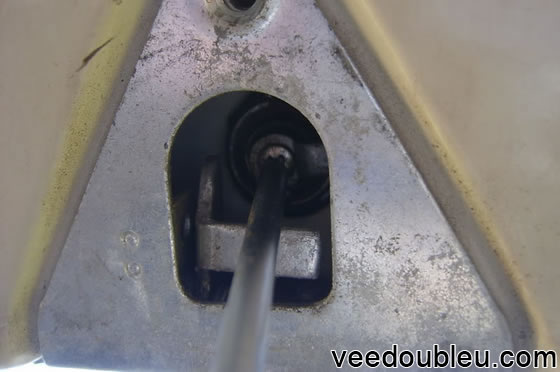
I then removed the latch mechanism which is held on with 3 screws. Don’t be surprised if these are really tight or rusted on.
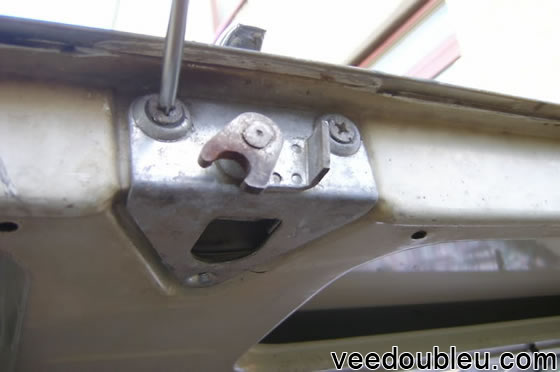
The lock unit could then be removed with 1 screw.
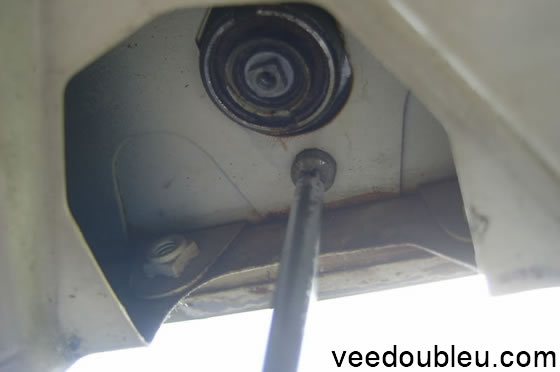
With the lock out you will need to remove the barrel. This is again best done on a table top so that you don’t loose the small parts.
The barrel is held in with a small grub screw much like on the sliding door lock.
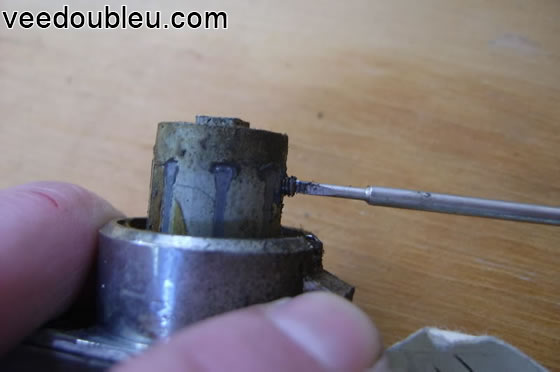
With the grub screw out the barrel can be withdrawn (with the key in) and the tumblers ground the same as before.
Here is an exploded view of the parts.
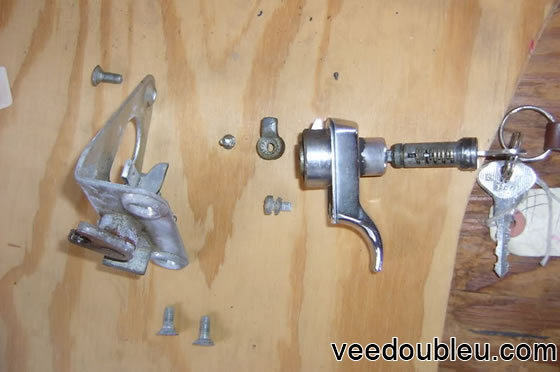
Just reverse the process to put it all back but make sure you screw on the small locking cam in the correct position or it won’t work and check it is working before you finish off.
Author
This guide was written by Dave Campbell who runs Rewound and found who has made it his mission to visit and photograph as many film and TV locations as he could find.
If the guide was useful to you go have a look at his website, Facebook page or YouTube channel.