Overhead light upgrade (W8)
This guide was originally two guides that have been combined to the one page. These were Installing the overhead light and Changing the LED’s.
Part numbers
-
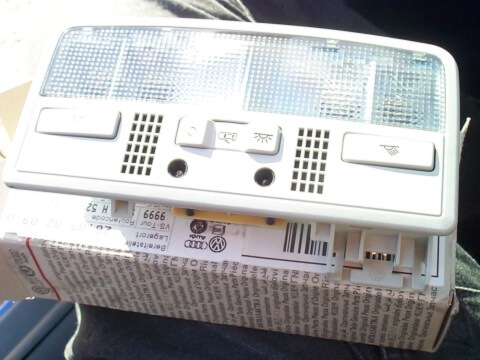
- Light: 3B7947105F2EN
- Plug: 3B0972706
- Wires: 000979131A – two required
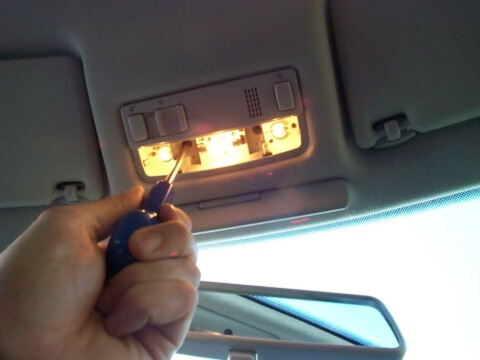
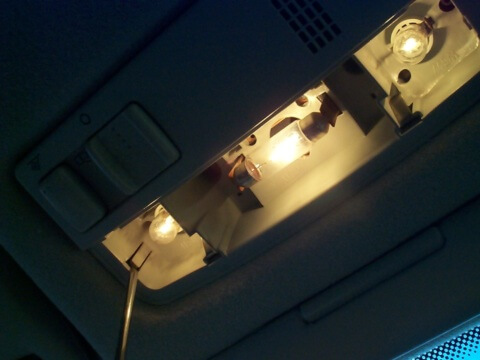
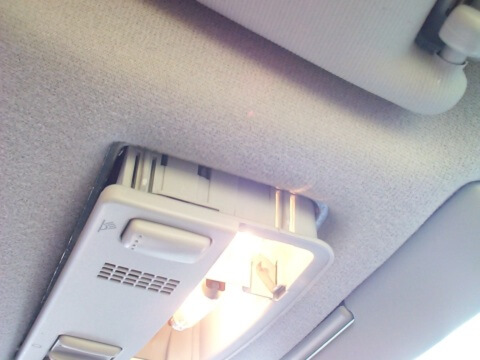
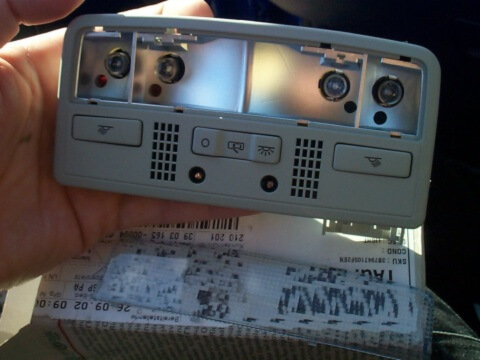
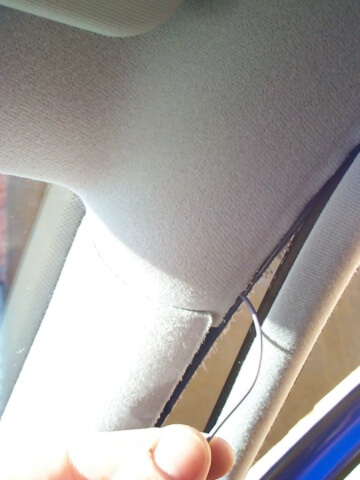
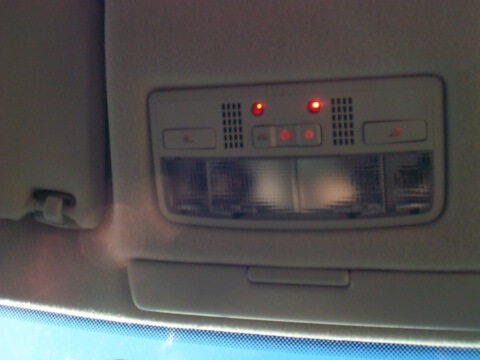
Removing light
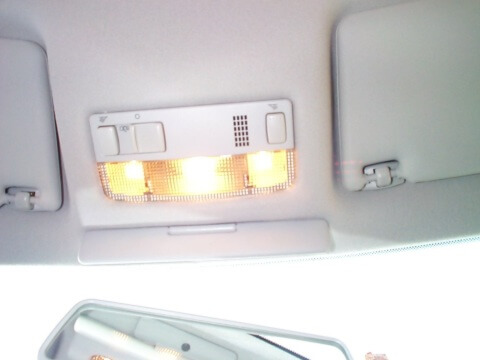
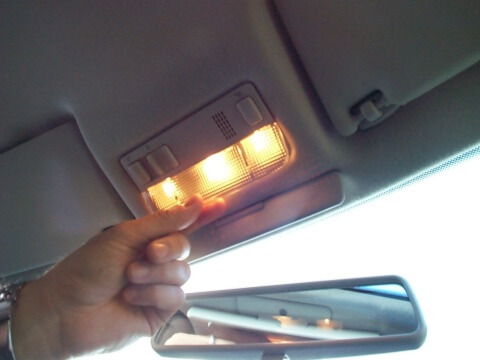
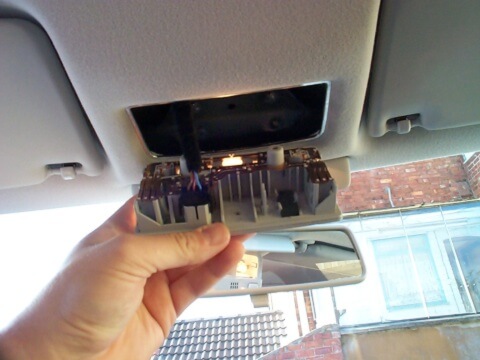
Before you take pity: No! that’s not my gaff in the background.
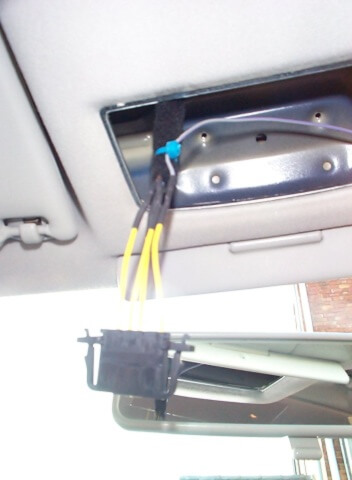
Wiring & install
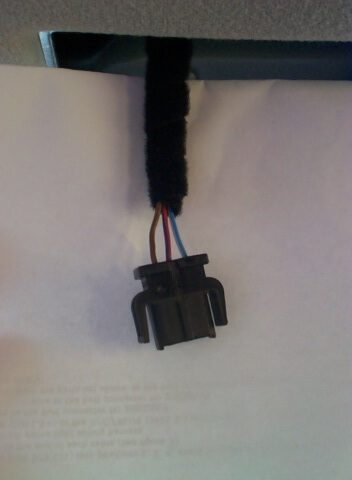
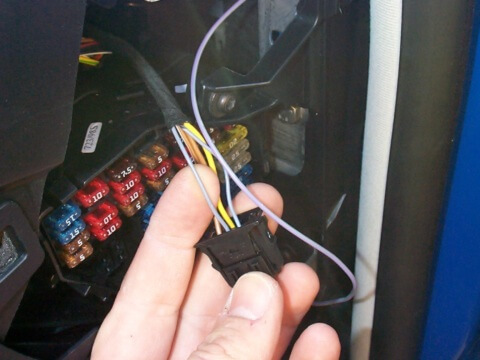
Existing wires:
Blue-white Blue-red Brown
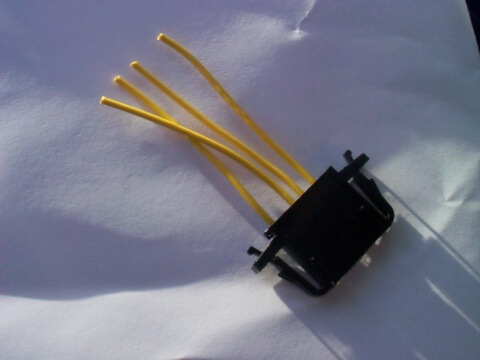
Insert wires into only pins 1, 3, 4 & 5.
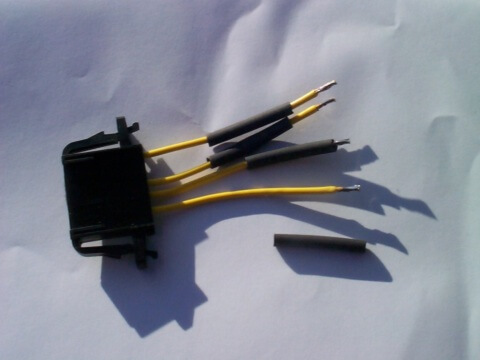
New wires connect to existing as follows:
-
-
- New wire to pin 1
- Blue-white to pin 3
- Brown to pin 4
- Blue-red to pin 5
-

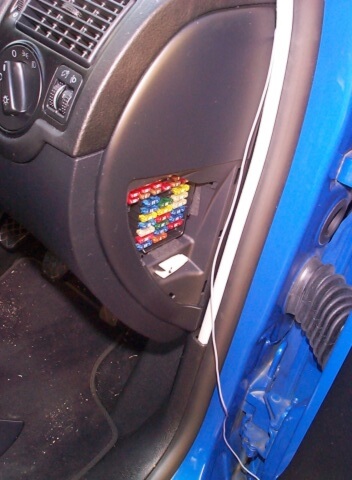
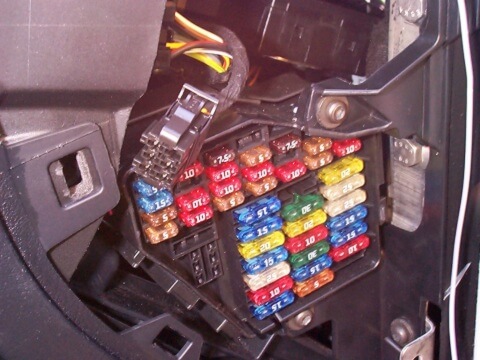
Pull the plug from the back of the instrument light Dimmer/Headlight adjuster unit.
The purple wire, next to the brown is the illumination wire that I used – not dimmed.

Use a skotch-lok or cut, solder and heat-shrink like this.
Another forum member has kindly noted that the light is a very tight fit, as the insulation behind the headlining partly interferes with the new plug when you push the light up into the aperture.
To quote his guide:
“When reinstalling the panel, I found it was very tight – infact too tight.I found the extended plastic for the wiring plug on the panel is fouling with some insulation in the headlining.
There isn’t enough room for it to basically push back and the the metal clips push in.
So I had to cut off a piece of the polystyrene foam insulation, just hacked it with a Stanley knife.
I made a little section, so the wiring plug can sit in there perfectly.”
Thanks to Aamer!
W8 Light changing LEDs
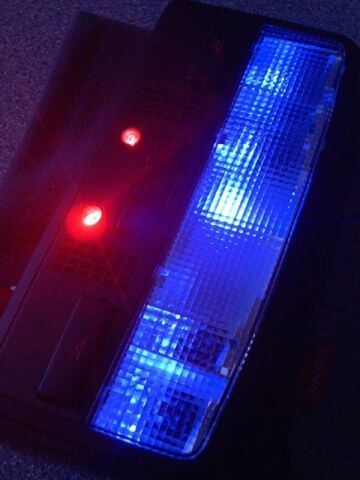
As a further modification of the W8 light, I decided that the Red illumination would not look right without the addition of some blue light, to compliment the dashboard clock colours.
I used some 100mCd 4V 5 mm blue LEDs, with a 1k resistor each, plus another 1k resistor wired in series with each pair of LED’s, to ensure it was not too bright.
The LED’s wires pass through the lamp vent holes already present, and are held in place on the rear of the assembly by hot-melt glue dabs (very handy!)
The LED’s are wired up to pin 1 (illumination +ve) and pin 4 (negative).
The wires for the supplies to the LED’s are soldered directly to the respective pins on the lamp PCB.

The vent holes are not symmetrical, so the LED wires were bent so the LED’s pointed correctly.
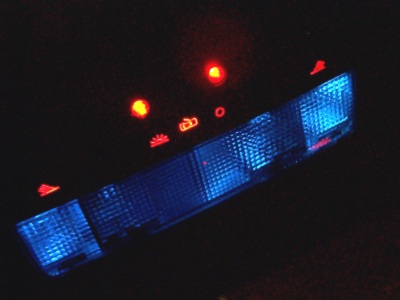
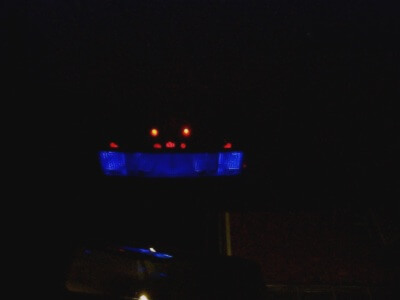
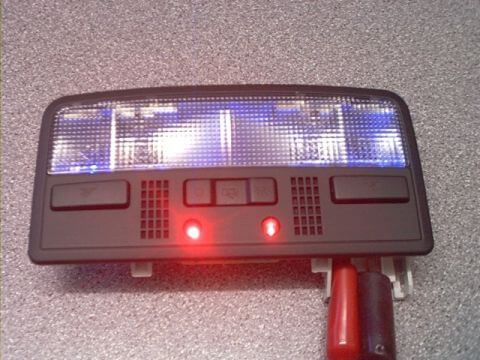
The blue LED’s are illuminated when the headlights are on.
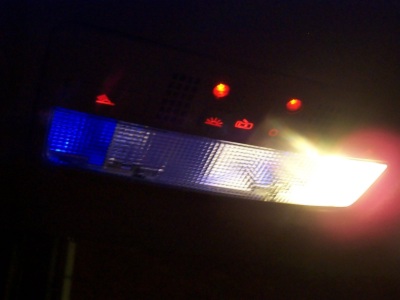
The normal bulb operation is unaffected.
The LED’s are illuminated at the same time, but not seen here due to the bright lamp output.
You could switch additional resistors in or out to effectively add a dimming control, should you like them brighter by day and less obtrusive at night.
This is a W8 light I have modded for my friend, Daniel. He has the 25th Anniversary Golf GTi with the black interior. The light has been sprayed black by him, and I fitted the blue effect lighting.
Total cost: Approx £25 GBP – correct as of 3/10/02
Original location:
- http://homepage.ntlworld.com/dgace/w8_inner_light.htm
- http://homepage.ntlworld.com/dgace/w8_light_leds.htm
This web page was two guides that were posted at the links above but the website is no longer online and I was unable to track the owner down. I felt this web page was too good to disappear.
Learn more about my Revival project, any questions let me know.