Replace pollen filter
If you has come across this page looking to change you pollen filter as part of a service then read on. If your trying to track down a leak into the interior your time might be better spent here at my Passat Interior leaks page.
Before you begin you might want to take a look at my Before you begin page.
Tools needed:
For this one you don’t need any tools, this really is simple to to do.
What is the pollen filter?
A pollen filter is what screens all the air coming into the car, the air you breathe. So if its dirty and clogged up the car will have to work harder to to draw air through. The local auto parts store wanted to charge me £3 more than the VW dealer, for what was probably an inferior filter… Worth giving your VW garage a call. Cost me £8 including tax.
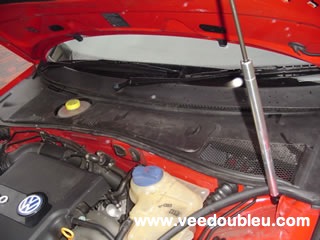
Step 1 – Getting at the filter
The first thing you need to do is remove the seal that runs around the edge of the engine, you can see in the photograph below I’ve started to remove it at the right hand side. It just pulls off.
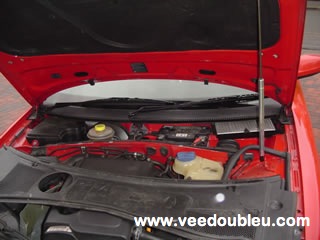
Step 2 – Getting at the filter
Once the seal is removed the battery cover just slides out by pulling it towards the front of the car. You should be left with something similar to the image below. At the top right is the pollen filter.
Step 3 – Remove the old filer
Easy peasy, the filter is held in with one clip.
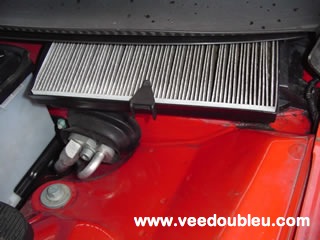
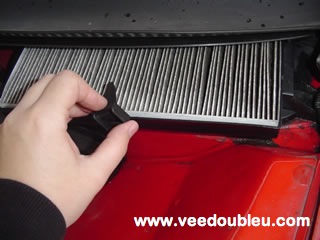
The clip just lifts off allowing you simply lift out the old filter and look at all the dirt and dust its trapped.
Step 4 – Putting in the new filter
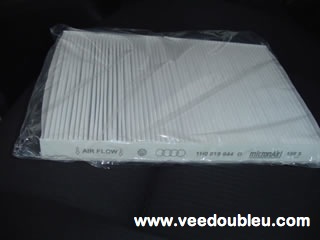
You can see the two filters in the pic below, I’d like to take this opportunity to have a little moan. I had my 40k service carried at an Arnold Clark VW garage. Most VW owners know that the 40k service is a big one. I checked the invoice which was £300+ and they had charged me for the pollen filter as part of the service but not changed it. That was 3 weeks before these picture were taken…. does that look like 3 weeks of dirt to you? I don’t think so. I wonder what else they didn’t bother doing??
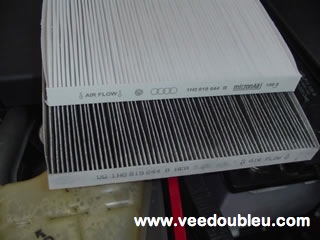
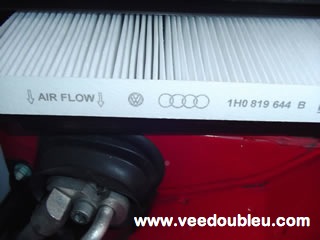
Annnnyway….Just drop the new filter in place making sure the airflow arrows are pointing down.
All you need to do now is replace the battery cover and seal by reversing steps 1 and 2. So that’s it, if you use this guide or have any questions or comments let me know.